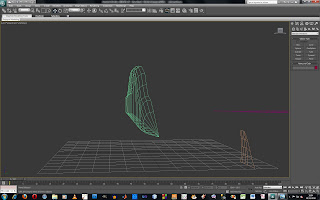
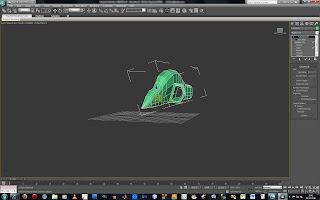
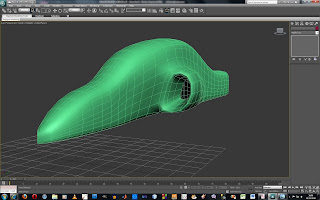
After this I used the same method to create the wings by extruding polygons that were underneath the air shaft. I carefully selected them and then pulled them out. I used the X and Y axis and moved them into place, so they were ready to be shaped. To shape the wings I need to add more vertices so by using the edge selection I then clicked on Connect in the Edit Edges Box and used the settings to apply how many segments I wanted. I also used the pinch button to manipulate how far apart they were from each other. Havin more vertices to work with I was able to shape the wing.
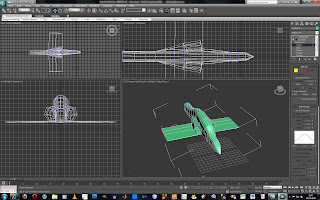
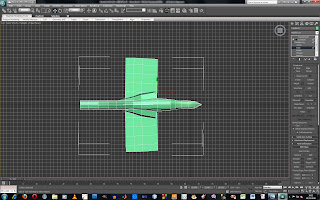
I used the same method again to creat the tail wings extruding the polygons out and manipualting them into the correct place.
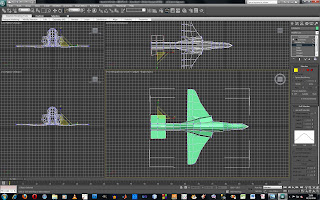
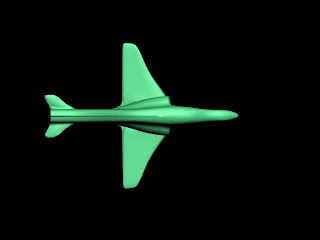
As you can see from the image above that there is still a gap in the model. This was because the vertices had not been joint up correctly. To solve this I selected the vertices and clicked on the weld tool I was able to join them together to make a complete mesh.
No comments:
Post a Comment