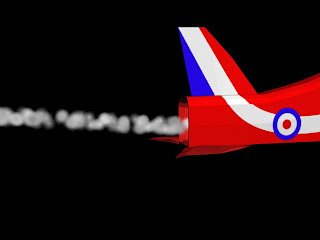
The particles looked like smoke blobs instead of a flowing stream of smoke so in order to change this I diffused the colour. On the Maps rollout I clicked on the box none across from fuse and choose particle age. The particle age map changes the colour of each particle depending on its age. I dragged the colour from 1 to 3 and choose swap. I then rendered the image to see what it looked like.

I am very pleased with the smoke so far, I have suprised myself with how well I have completed it. Its not finished yet and needs tweeking so the smoke looks thicker and lasts longer but overall a good start! I will also change the particle colour to blue and red when I render some scenes to add colour.


No comments:
Post a Comment